IIS web application
Microsoft defines IIS web application as follows:
An application is a group of files that delivers content or provides services over protocols, such as HTTP. When you create an application in IIS, the application’s path becomes part of the site’s URL. (learn.microsoft.com)
IIS web application deployment requires an existing IIS website.
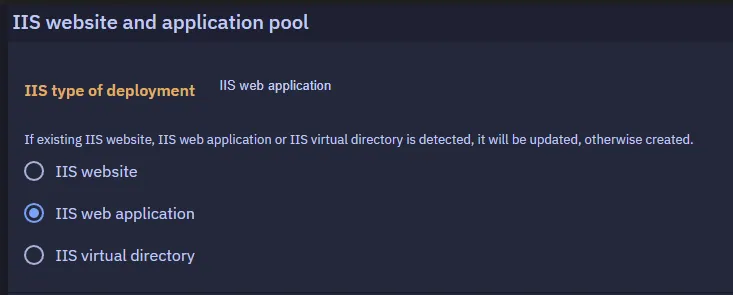
In order to deploy an IIS web application, when defining your deployment process, select IIS web application as the type of IIS deployment:
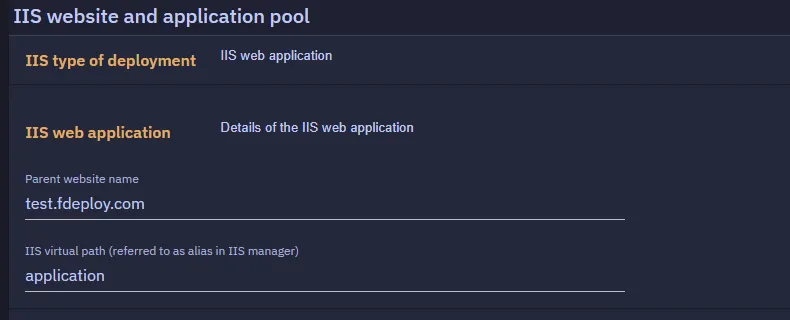
Next, set the name of the parent website.
Parent website name and virtual path
Parent website name should already exist on your deployment targets.
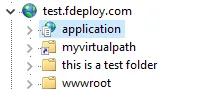
The above settings after a successful deployment will look like this in IIS manager on your deployment target(s):
Next, we’ll need to configure application pool for our site.
Application pool

The application pool will be created if it does not exist, or used if it already exists on the deployment target(s).
Configuration transforms
fDeploy supports .NET XML Document Transform (XDT) for transforming configuration files during deployment. You can enable automatic transforms that detect *.Release.config and *.<Environment>.config files, and define additional custom transform rules.
Configuration transforms run after the package is extracted and before variable substitution.
For full details on transform syntax and configuration, see the Configuration transforms documentation.
Variable substitution
This section defines target files to perform variable substitution on. Files defined here will be modified by fDeploy Agent and searched for any variables matching the role and environment scope for a given deployment task.
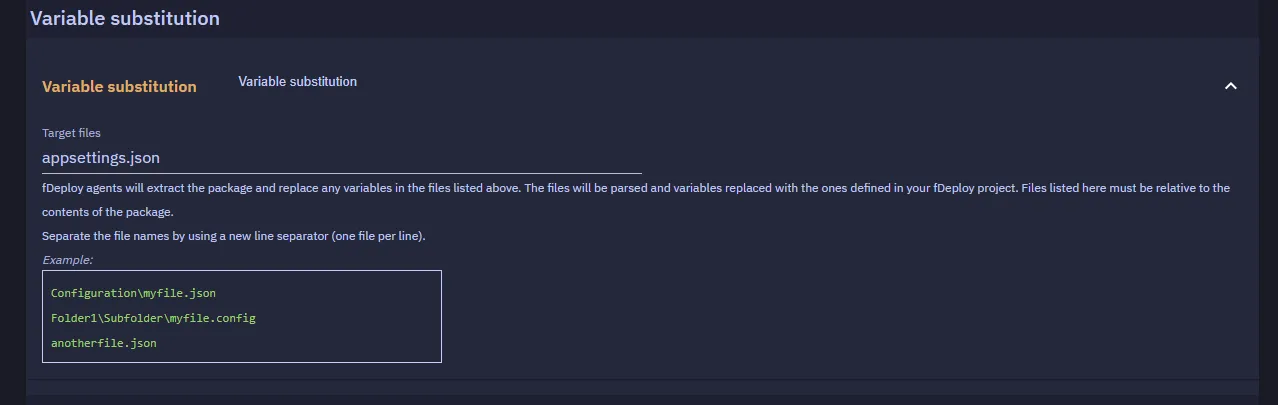
fDeploy agents will extract the package and replace any variables in the files you define in this section. The files will be parsed and variables replaced with the ones defined in your fDeploy project. Files listed here must be relative to the contents of the package. Make sure to separate the file names by using a new line separator (one file per line).
Phase timeout
Default: 60 seconds per phase. Range: 1–3600.
Web application deployment runs a handful of PowerShell phases (parent-website check, app pool check/create, web application create/update). The timeout you configure applies independently to each phase.
Total step budget is roughly timeout × number of phases — at the default 60s that’s well under a minute in practice; web applications have fewer phases than full websites. If a phase hangs the PowerShell process tree is killed and the task log records the phase name with a _timeout suffix. Timeouts are contained to each deployment target; one target’s hang never extends another target’s budget.
Execute deployment
Once you are happy with the process definition, you can proceed with creating a deployment.
- Create a release
- Use the “Deploy to…” button to move on to environment selection
- Select your target environment
- Use the “Deploy” button
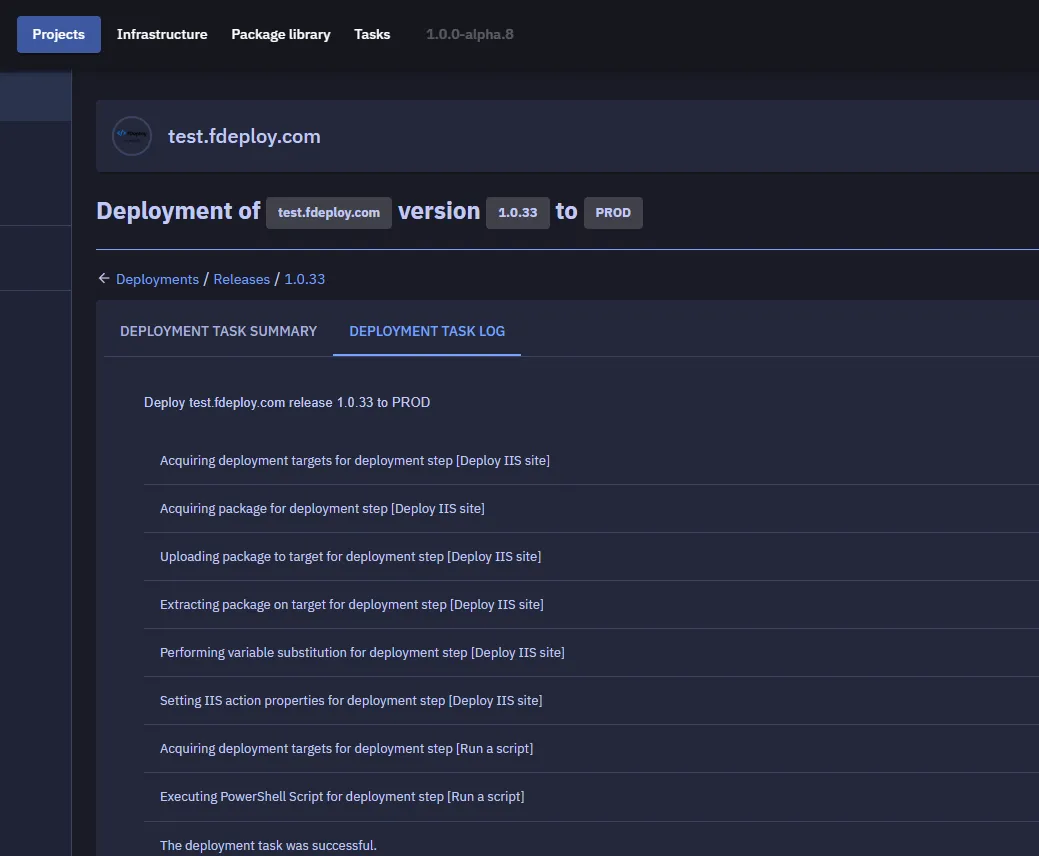
At this point, your deployment will be added to queue and executed based on FIFO principle (first in, first out). You will be taken to the deployment task summary where you can follow the progress of the deployment (the view will be short-polled and automatically updated).
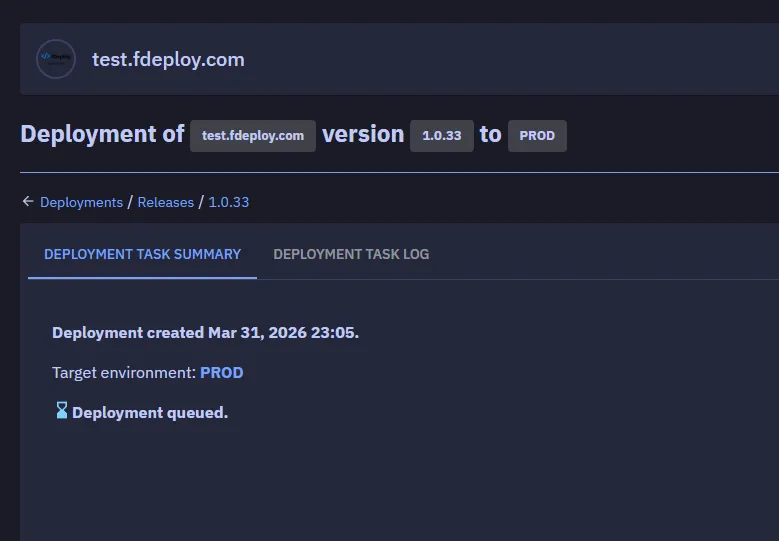
Once the deployment is completed with a status of success or failed, you can view the detailed task log by using the “deployment task log” tab: